Add courses by way of the Training dashboard. For details on accessing the dashboard refer to Training Module Dashboard.
1. Click on the Manage Courses button on the Training dashboard.
| 2. | The Course Search screen appears. Before adding the course, it is recommended you first search for the course to verify whether or not it already exists, though not required. For instructions on how to search for courses refer to Search Courses . |
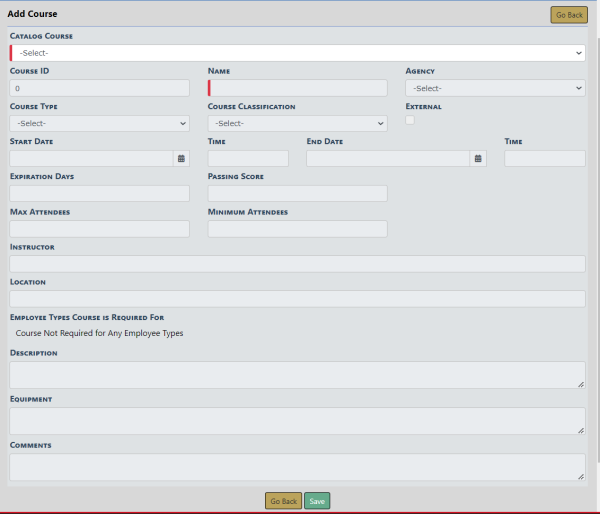
| 3. | Click on the Add Course button on the Course Search window to open the Add Course screen. |
| • | Select a course template from the Catalog Course list. |
If you do not see an option on the list that fits the course you are adding, you can select the -New Course- option, located at the top of the list, and the system creates a Course Template automatically based on the data you enter on the Add Course form. Once you save the record, it will then appear in the Catalog Course list and is available to other users who also have the permissions to manage courses.
| 4. | Once you choose a Catalog Course, other fields on the form become available to accept data. Enter the appropriate data in the fields provided. |
| 5. | Click Save to create the Course record, or click Go Back to return to the Course Search screen without creating the record. |
When you select Save, the Edit Course screen displays.
Additional information can be added such as, Attendees and Groups. For detailed instructions refer to Edit Course .
All Attachments and Prerequisites reside on the Class Template or Catalog Course that you chose for the class record; if they do not exist on the course template, then they do not appear on your course record. Adding attachments and prerequisites to class templates is an admin function (with the exception of additional attachments specific to this instance).
Note: If you need to add attachments or prerequisites to a course, refer to the Online RMS Admin Guide for instructions or see your administrator.